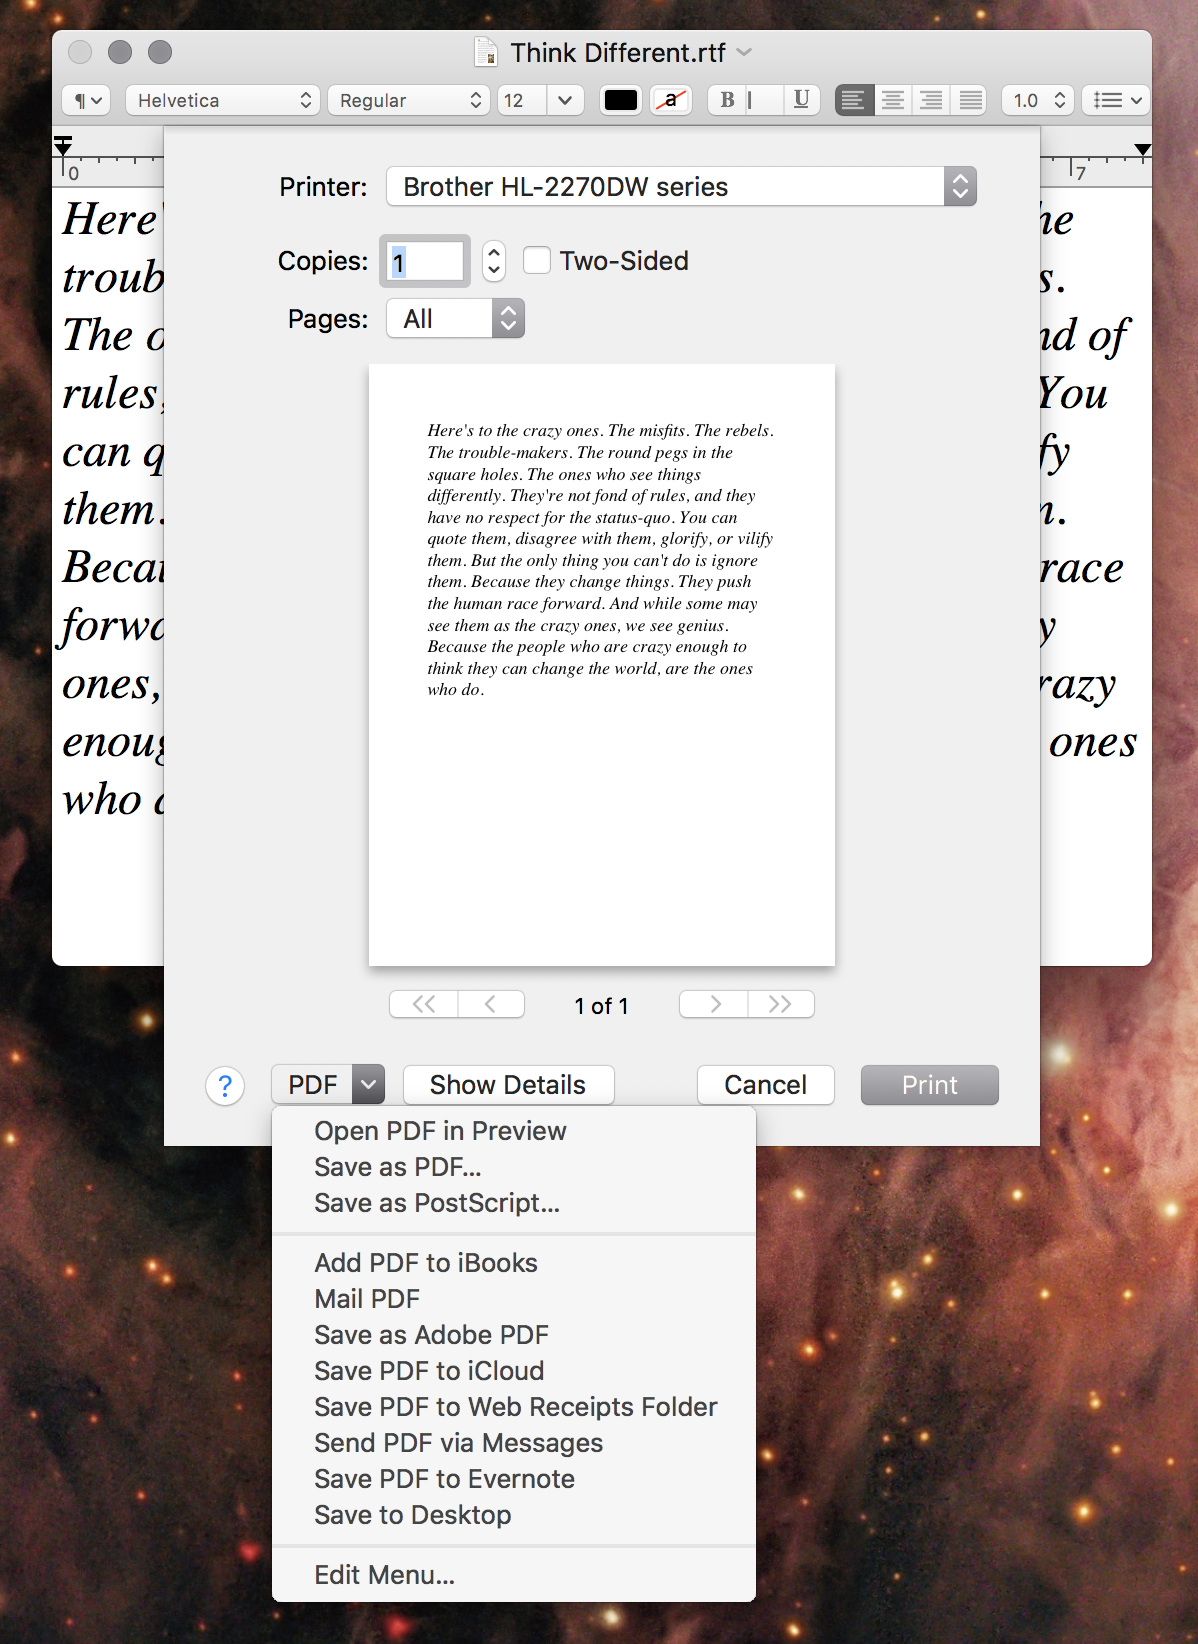
One of macOS’ best tricks is the ability to print anything to a PDF. This is accessible from any system print dialog box:

Apps can put their own items in that services menu, but selecting “Save as PDF…” will let you pick which folder you to save your newly-minted PDF to.
Most of the time, I’m creating a PDF with this method to upload to something like Freshbooks. I just want to save my receipt to the Desktop as quickly as possible. Waiting for the Open/Save window just slows me down.
Thankfully, adding a folder to that menu is super simple.
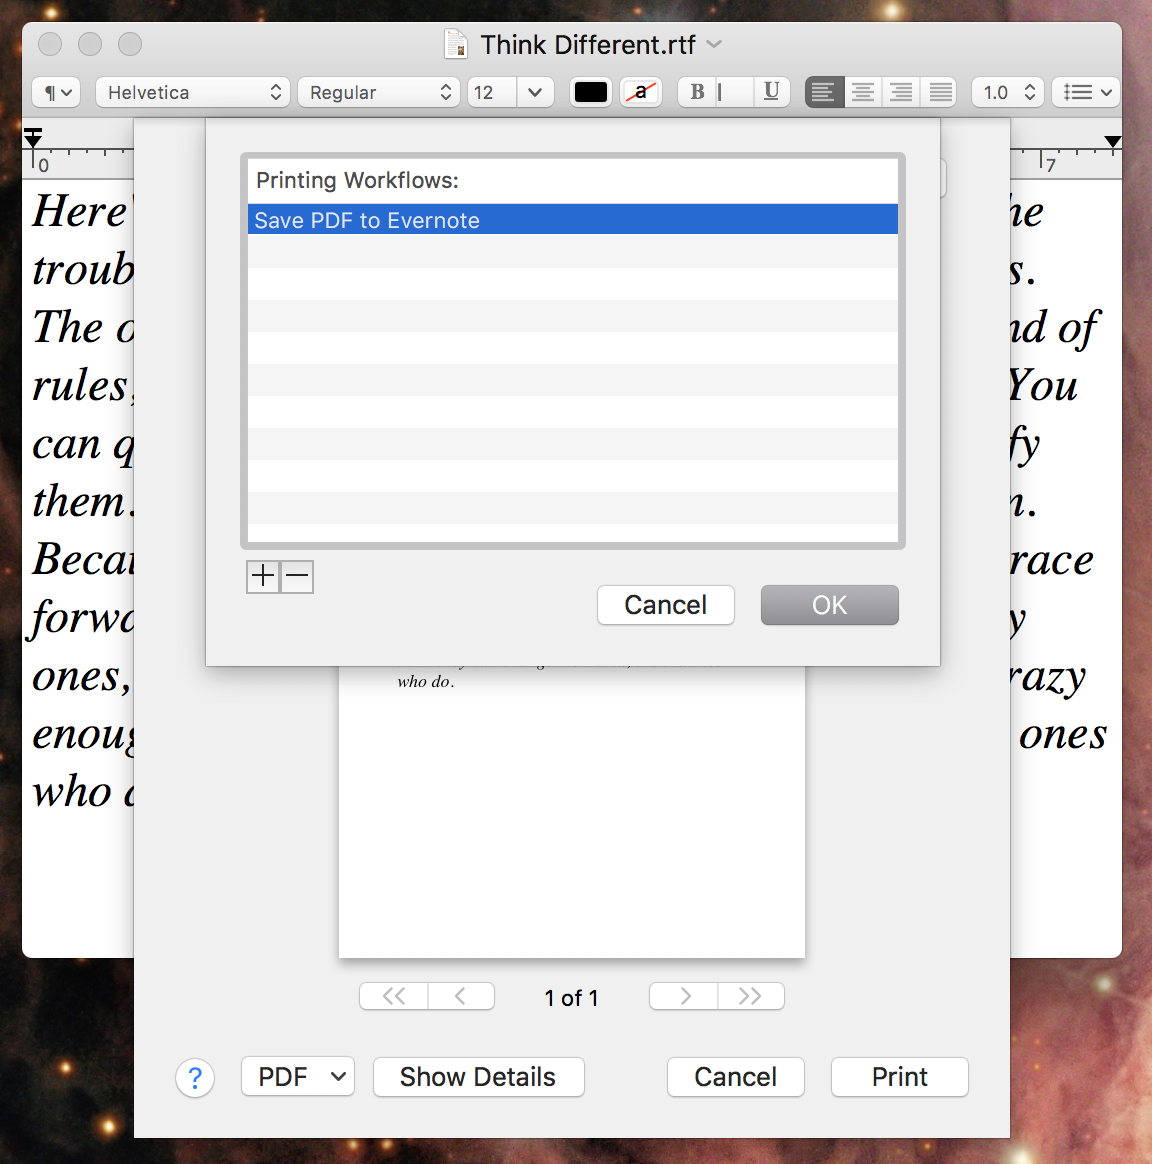
Selecting the “Edit Menu…” options spawns a new window:
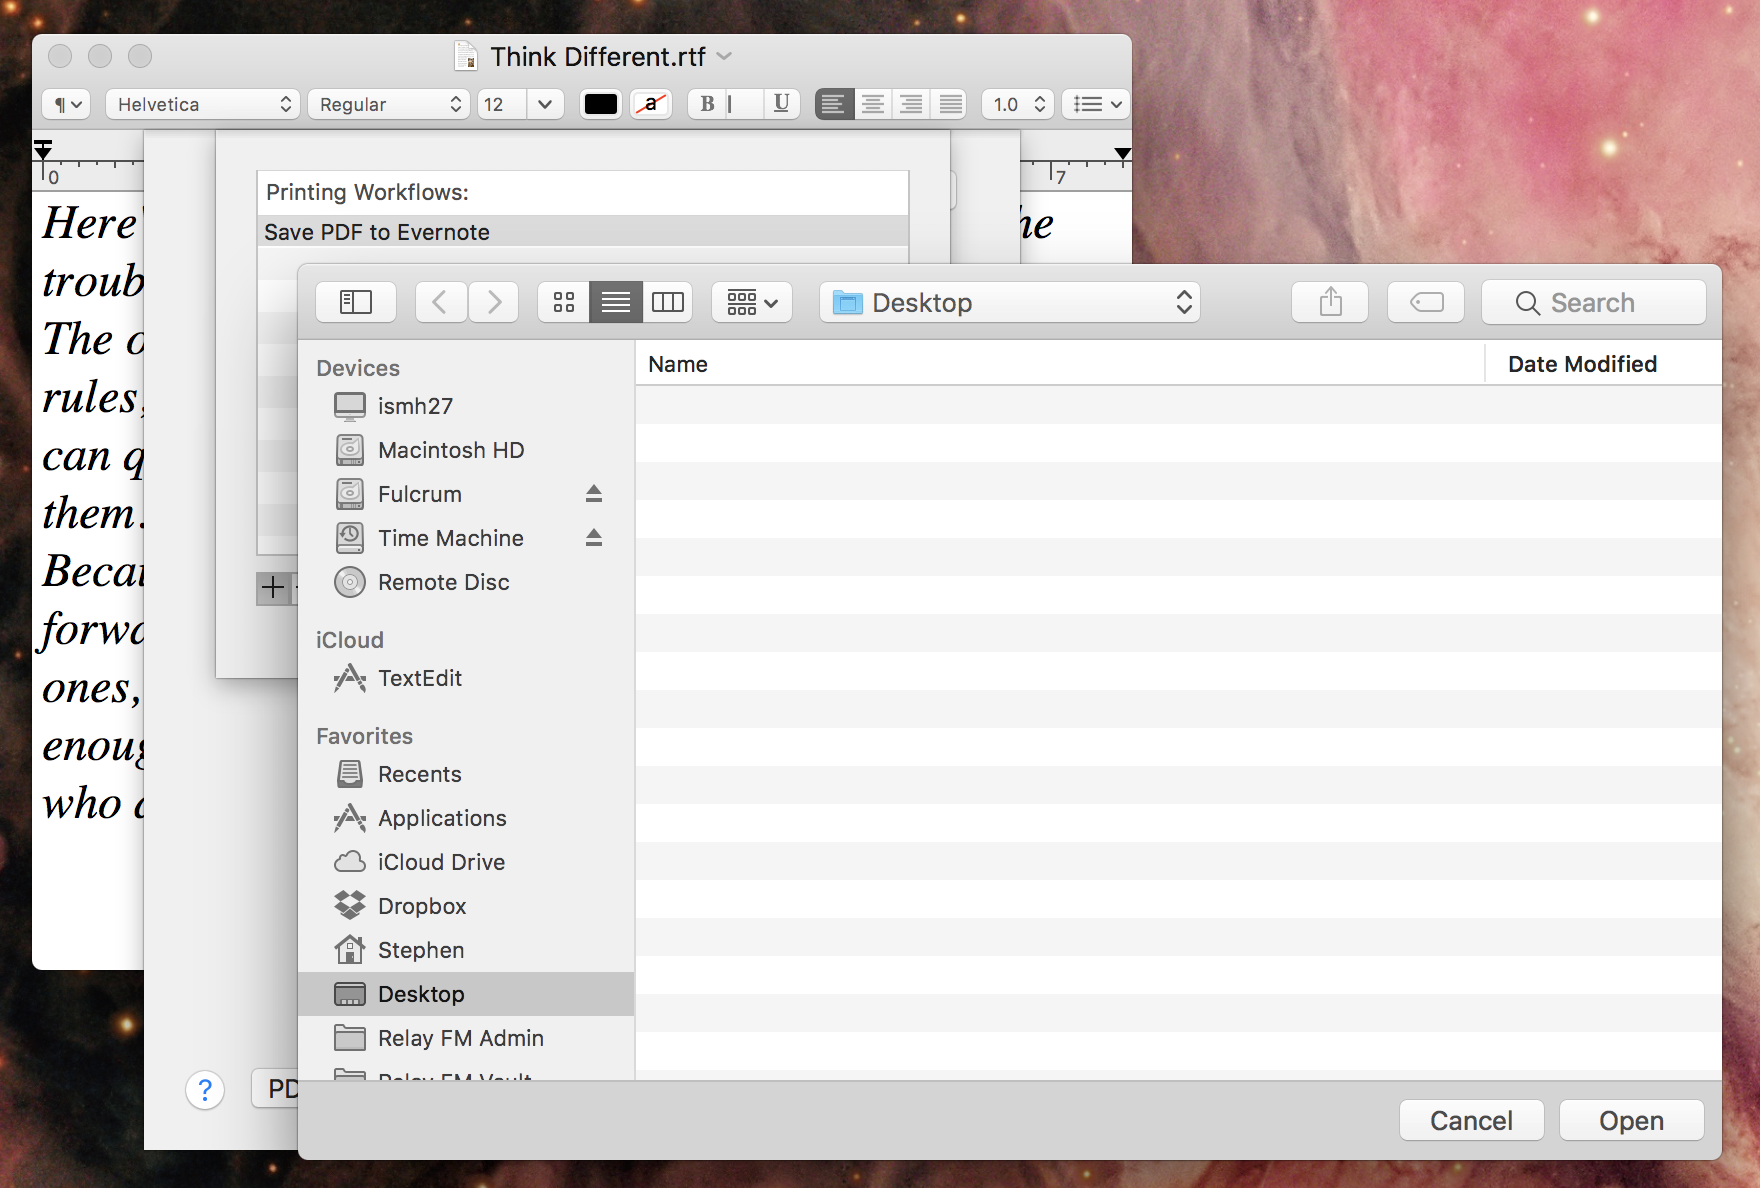
Clicking the + button will bring up the Open/Save window. Simply navigate to the Desktop (or whatever folder you want to use) and press Open.
The name of the folder will now appear in the list of custom printing workflows.
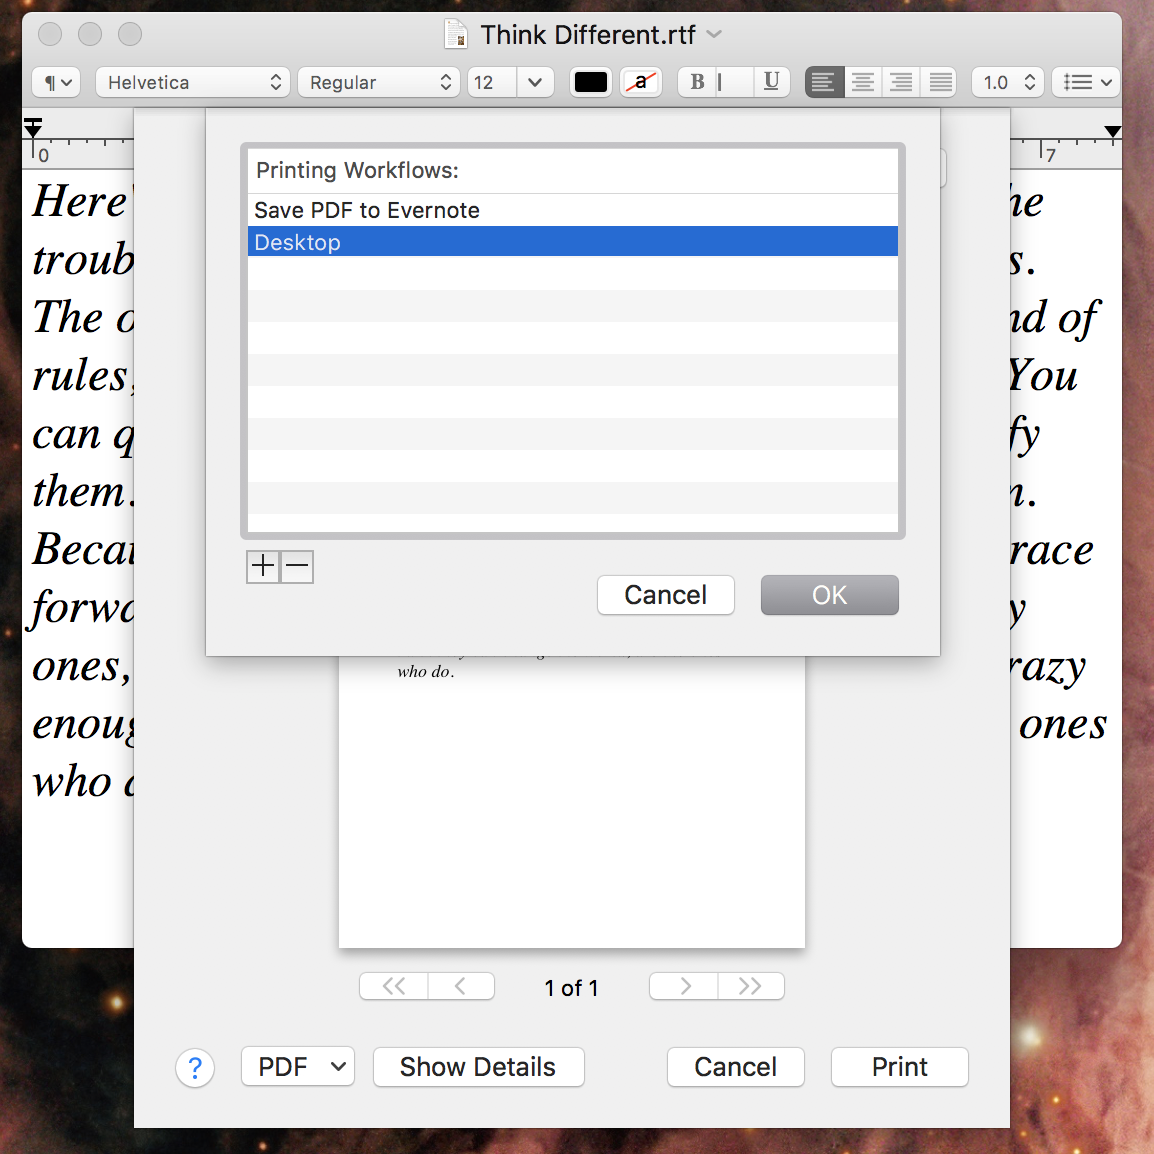
You can double click on the name if you wish to change it. When you’re done, click OK, and your new custom destination will appear in the PDF services menu. Selecting it will cause macOS to create a PDF in that folder without any additional clicks.